How can I assign Roles and allocate permissions to my Staff Members?

Himanshu
Last Update il y a 3 ans
To add roloes of the staff members and subsequently allocate them permissions, follow the steps given below:
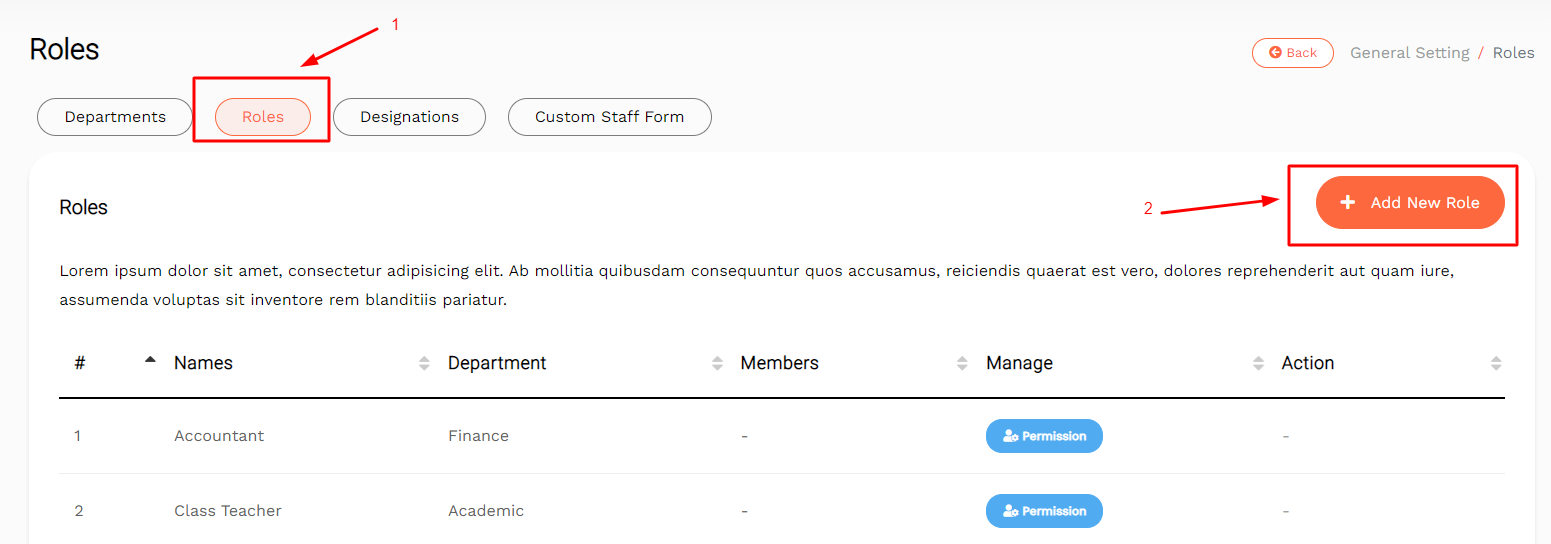
Step 1: Tap on Roles to open the Roles page where the school staff roles can be added and permissions can be allocated or denied.
Step 2: Tap on Add a Role to open the form and choose the Department in which the role needs to be added.
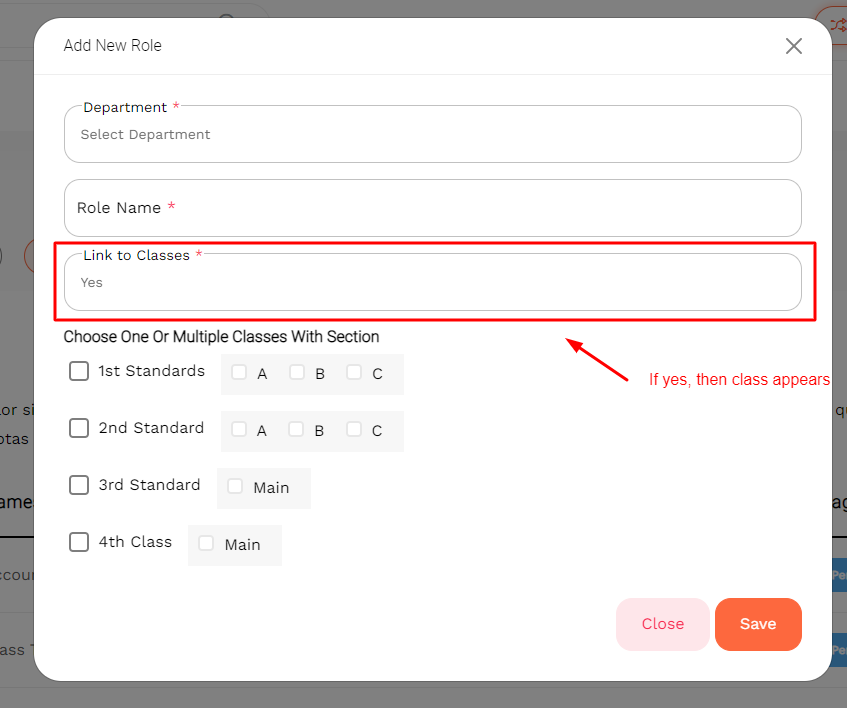
Step 3: Write the Name of the Role that needs to be added.
Step 4: Choose if the role needs to be linked with the class(es) or not.
Step 5: Select Yes or No.
Step 6: If Yes, the classes will appear. Select the class(es) and the respective section(s) that need to be added for the roll.
Step 7: Click on Save or Cancel.
Step 8: Head to the Roles section.
Step 9: Under the Manage Heading, tap on the Permission option.
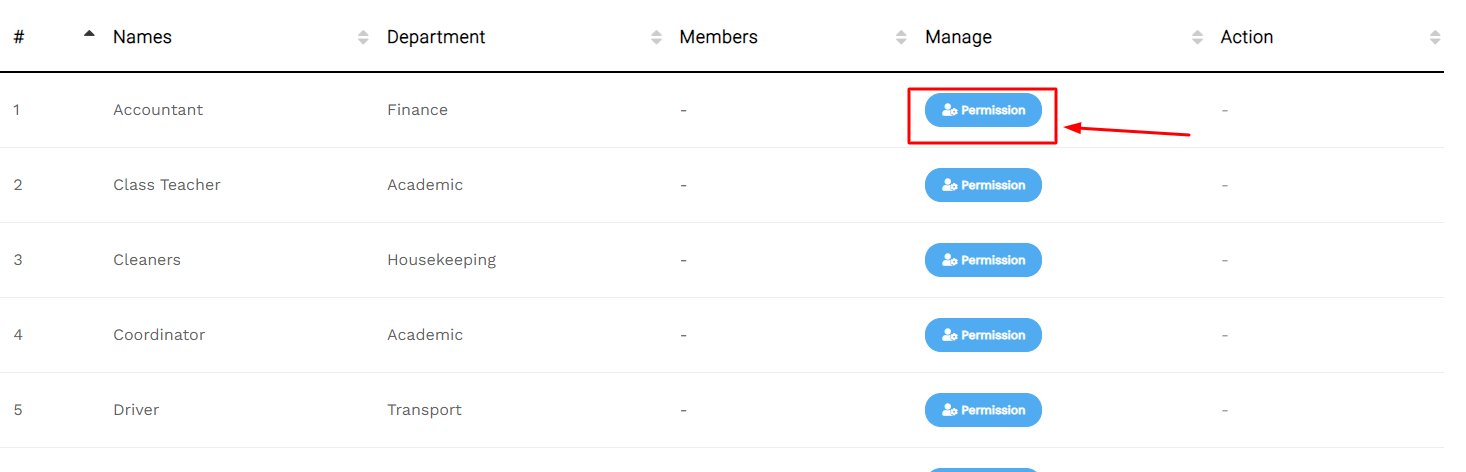
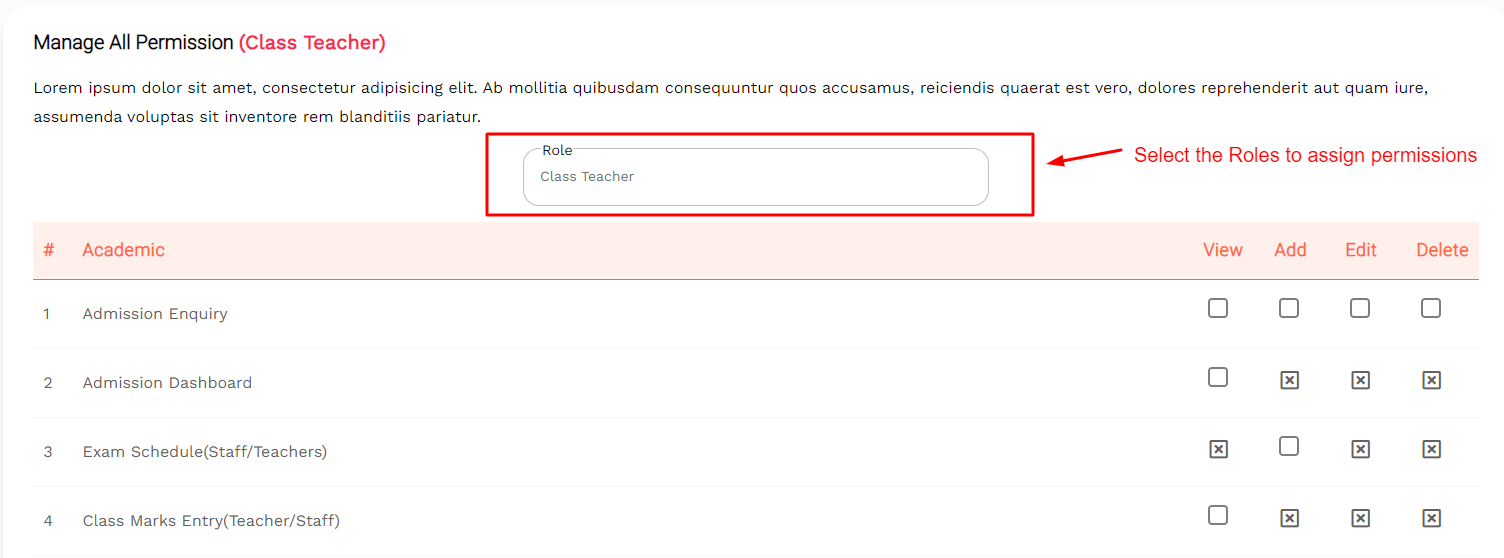
Step 10: The page to manage the permissions that each role shall have while using the services will open.
Step 11: Select the Role from the dropdown list.
Step 12: Choose the permission that needs to be given for a particular work.
Step 13: Tap on View if the employee is allowed to just be able to view the work.
Step 14: Tap on Add if the employee can add a new work of his/her in the section.
Step 15: Tap on Edit if the employee needs to be allowed to make changes in the available data as mentioned by the authorities.
Step 16: Tap on Delete if the employee can delete the data or the work as uploaded by the authorities or him/her.
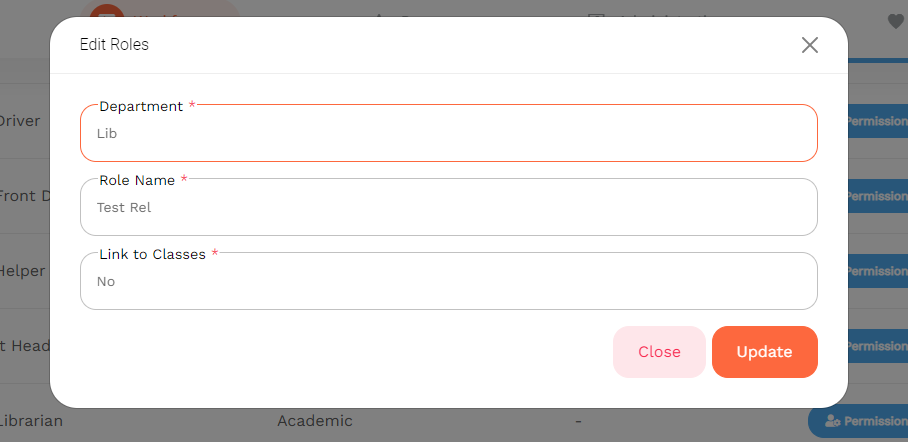
Step 19: On the Roles page, under the Action column, choose to edit the available information by tapping on the Edit icon.

Step 20: The Edit Role form will open up. Changes can be made in the Department, Role Name, and the Classes that have been allotted to the roles.
Step 21: Click on Save Changes to save the updates made or tap on Cancel to discard it all.